|
|
Post by garydavis on Mar 26, 2016 11:58:50 GMT -8
Thanks Bruce....Yea...I am showing the W.I.P. on 4 forums in total..to include this one. I started it on here and I'll probably finish it here. As far as the other forum I think you might be thinking of...I'm to far into the build to post. Maybe the next build....
|
|
|
|
Post by garydavis on Mar 27, 2016 14:22:17 GMT -8
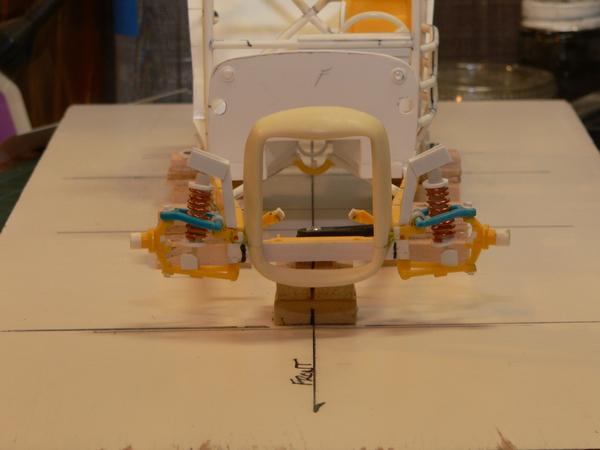
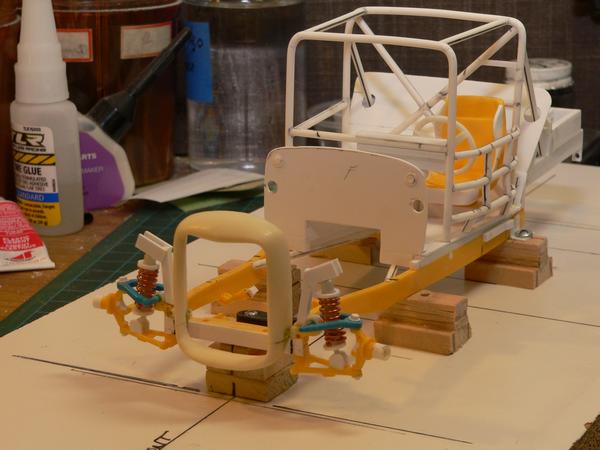
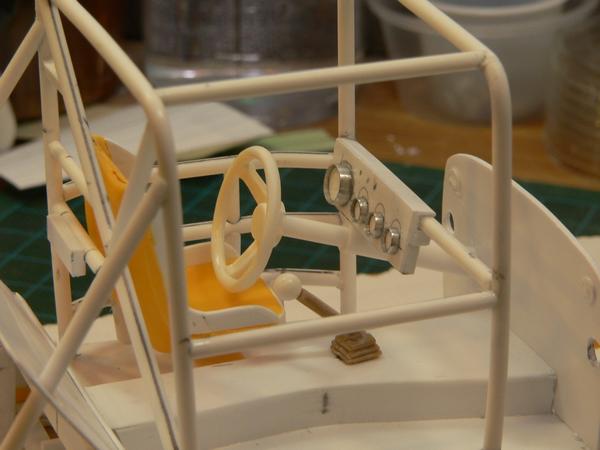
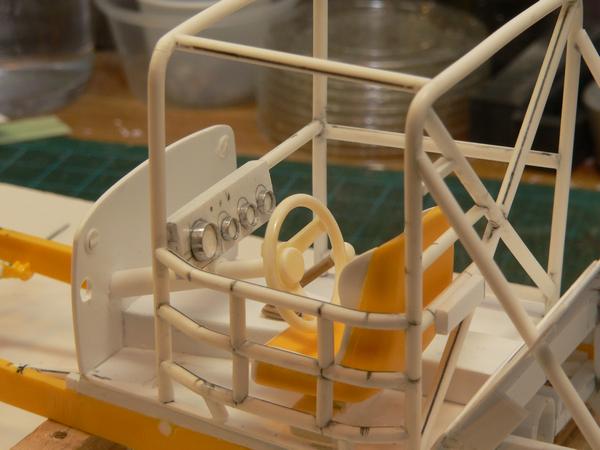
Here's an update....The dash and Gauges have been fabbed. Still need to do the three toggle switches. The front shock mounts have also been fabbed and are in the basic shapes in the pics. I will let them set for a day or so and then file them to shape. The seat is also in it's position along with the shifter. Here are a few pics...Thanks for looking in...
|
|
|
|
Post by dogfish7 on Mar 31, 2016 6:11:40 GMT -8
Looking spot on Gary!
|
|
|
|
Post by garydavis on Apr 13, 2016 10:29:12 GMT -8
Thanks again Bruce....
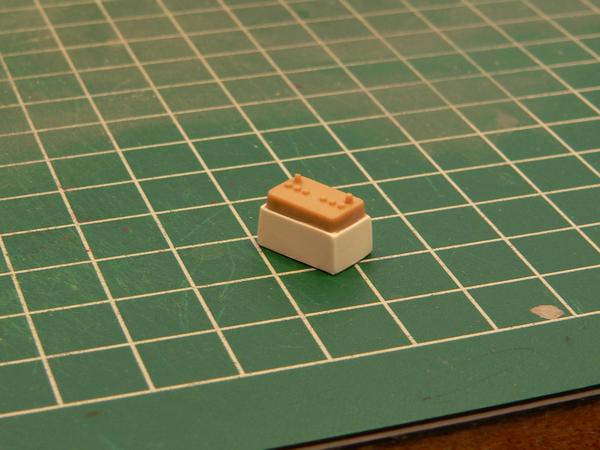
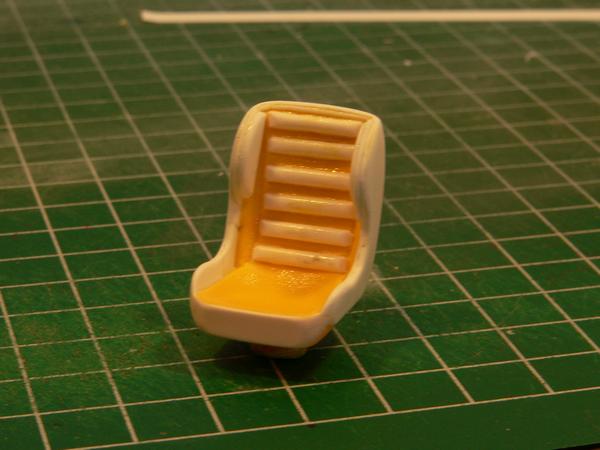
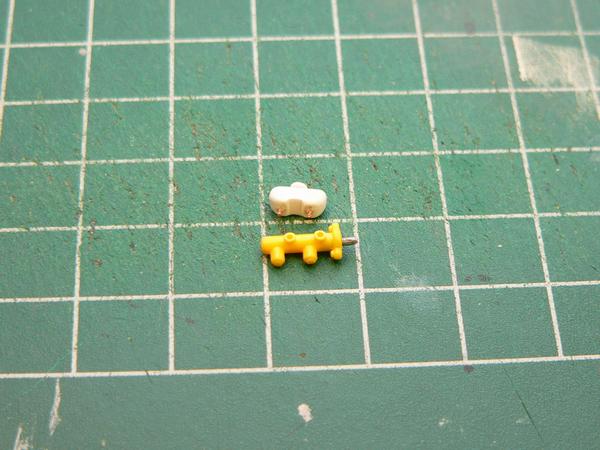
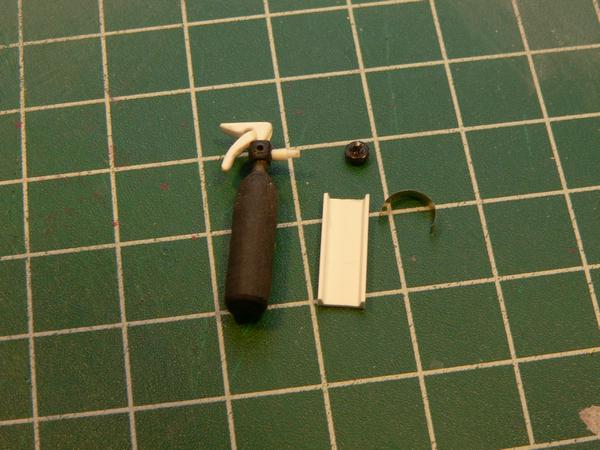
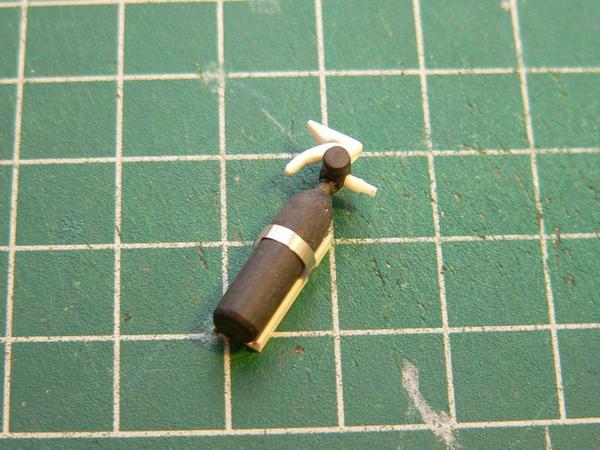
Here's an update on some of the small stuff that takes time to figure out and build. A battery Box was fabbed along with padding and rib bolsters on the seat. The seat will be covered in a black fabric so it won't be so shinny. A fire extinguisher was sourced from a parts box but had to be modified to a hand held type. The brake master cylinder was also sourced from the 34 ford kit and the fluid reservoir had to be fabbed...here are a few pics to look at...thanks for looking in folks....
The battery box...
New seat padding...
The master cylinder..
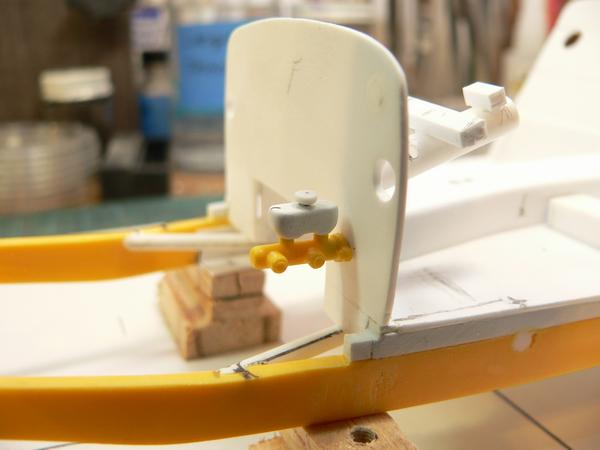
On the firewall..
Fire extinguisher....
|
|
|
|
Post by brizio on Apr 17, 2016 7:17:33 GMT -8
Amazing as usual!
|
|
|
|
Post by garydavis on Apr 17, 2016 14:43:06 GMT -8
Thanks Brizio....it's good to see ya posting again...Missed you not being here....
|
|
|
|
Post by dogfish7 on Apr 20, 2016 15:00:27 GMT -8
Some very nice scratchin Gary. Hi Briz!
|
|
|
|
Post by garydavis on Apr 29, 2016 17:14:30 GMT -8
Thanks Bruce.
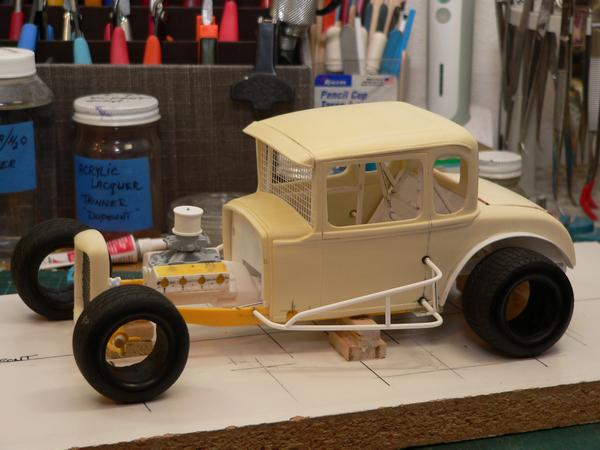
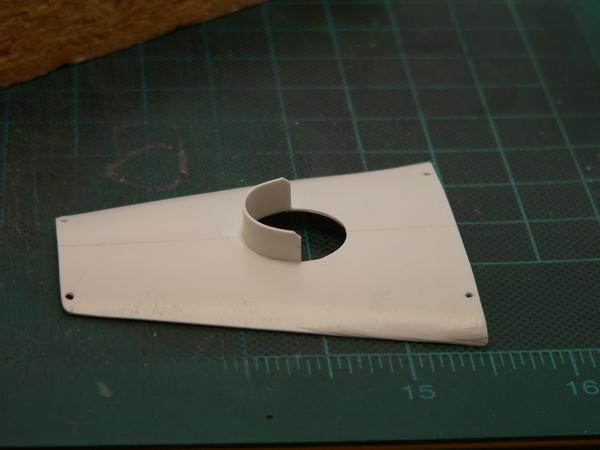
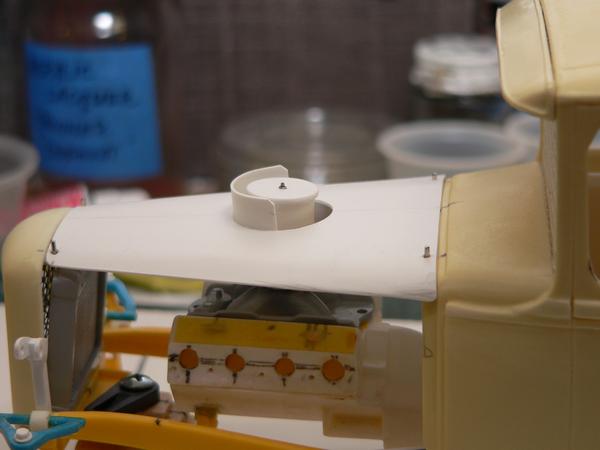
Here's an update ...The fab work on this bad boy is complete. The cowl screen along with the windshield screen have been built. The Air cleaner...side nerf bars and the hood with the mud guard are also complete.The priming has all ready began but...everything can be primed now. Then it's color. Here are a few pics to look at...Thanks for looking in folks....
The air cleaner and side bars...

The hood with shield and pins...

|
|
crash
Junior Member

Posts: 87 
|
Post by crash on May 1, 2016 11:34:16 GMT -8
Absolutely amazing work. I have a few large scale kits that I plan to do some scratch building on but not to the extent you took this one to. Great work cant wait to see more updates. And btw Gary thanks for pointing me over here from Scaleautomag.com
|
|
|
|
Post by dogfish7 on May 3, 2016 11:15:53 GMT -8
Awesome!
|
|
|
|
Post by garydavis on May 4, 2016 10:50:11 GMT -8
Thanks for the Comps guys...Hey crash...you're very welcome. Looking forward to seeing your Lrg. scale build.
Well...it's body putty and priming time. I'm pondering on the trunk lid hinging system. When I get that figured out...it's color time...
|
|
crash
Junior Member
Posts: 87
|
Post by crash on May 4, 2016 12:28:13 GMT -8
For the trunk couldnt you basically enlarge the same concept most guys do for the doors on the 1/24 scale builds?
|
|
|
|
Post by garydavis on May 5, 2016 10:27:06 GMT -8
That is one way I was looking at. But...My neighbor, who runs a 35 dodge 5 window coupe in the N.W. Vintage Modified class...uses two butt hinges on his trunk lid. I just happen to have a set that will work. I think I'm going with those.
|
|
crash
Junior Member
Posts: 87
|
Post by crash on May 5, 2016 18:46:28 GMT -8
Life size cars to use as a reference totally help. Now if only they made a 77 ford super cab short box so I can replicate my truck.
|
|
|
|
Post by brizio on May 6, 2016 6:22:17 GMT -8
.My neighbor, who runs a 35 dodge 5 window coupe in the N.W. Vintage Modified class... You have a cool neighbor!  |
|


