|
|
Post by garydavis on Jan 2, 2016 11:12:46 GMT -8
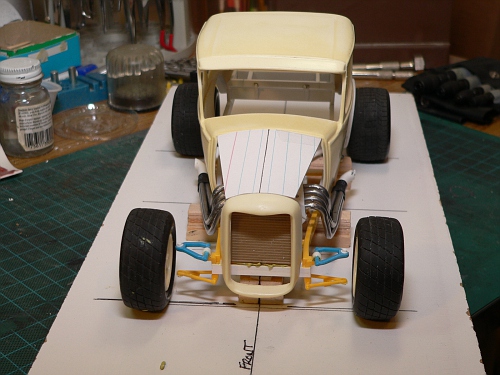
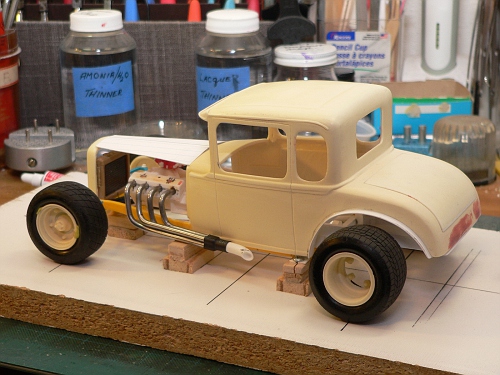
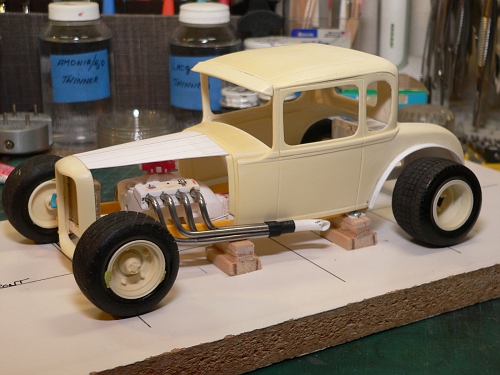
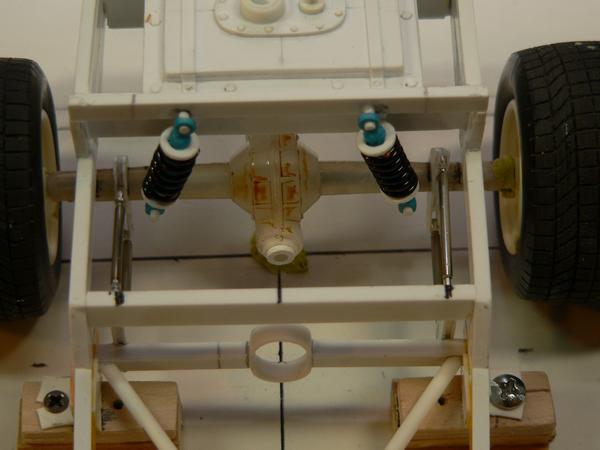
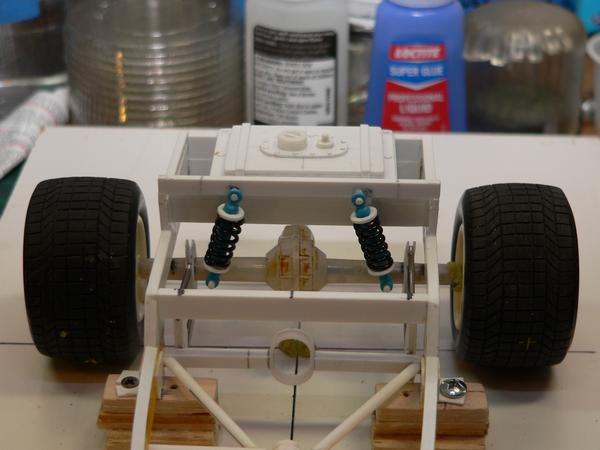
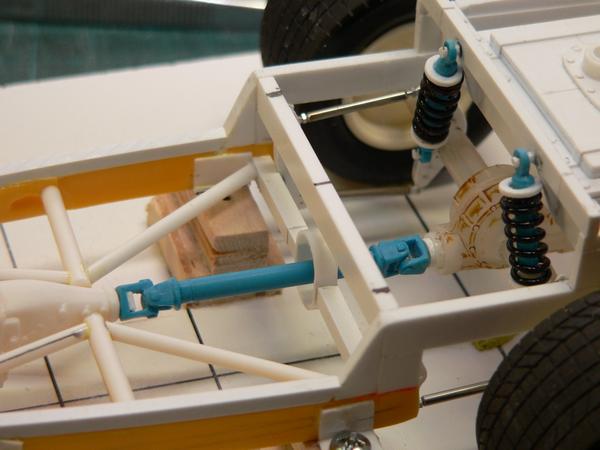
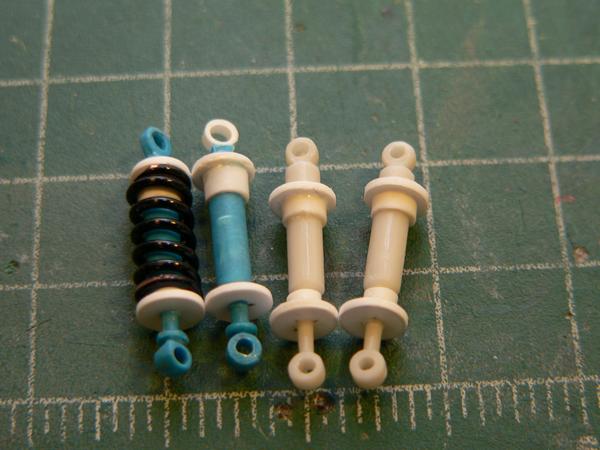
I managed to get a little building done during the Holidays. The coilovers(front and rear) were finished.The rear mounting bars for the coilovers were fabbed and they are mocked up in these pics. The white shocks are the front and blue are rears. As soon as the motor is set in it's permanent location( hopefully today) then I can get the correct length for the drive line. Then the interior sheet metal and bar work can begin...
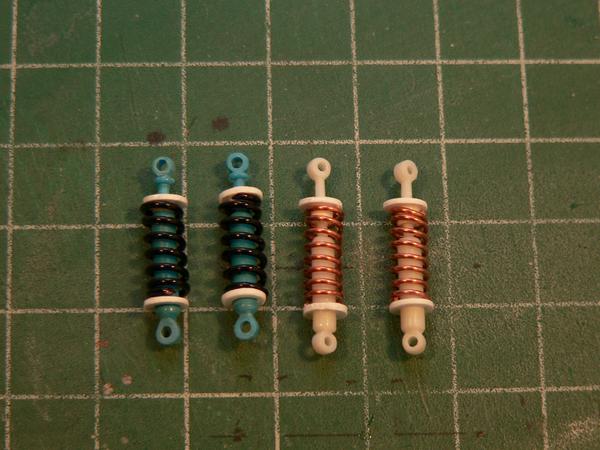
The fabbed coil overs....
Rears mocked up....
|
|
|
|
Post by dogfish7 on Jan 6, 2016 3:55:45 GMT -8
Very nice touch and I bet they're even functional:)
|
|
JohnA
Junior Member

Posts: 85 
|
Post by JohnA on Jan 6, 2016 9:12:18 GMT -8
Looking good
|
|
|
|
Post by dogfish7 on Jan 9, 2016 12:07:46 GMT -8
Gary is one of the finest Modelers and persons I've ever met. It's a privilege and an honor to see his work.
|
|
|
|
Post by garydavis on Jan 11, 2016 14:57:14 GMT -8
Thanks for the compliment John and Bruce!!
I did get the engine in it's permanent location and that enable me to set the correct length for the drive line.....
I also finished the shocks up(built the inner body on all four) and they are ready for paint....
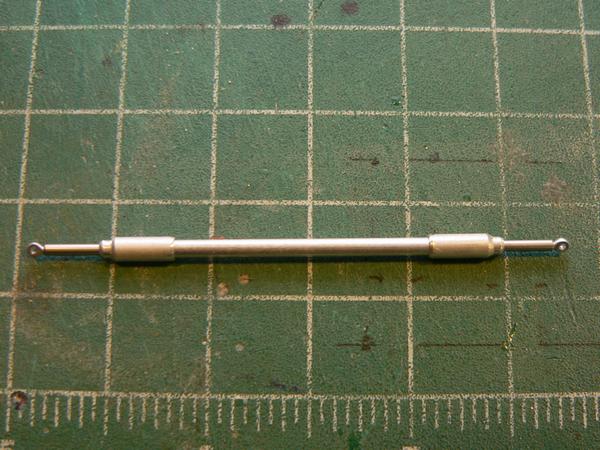
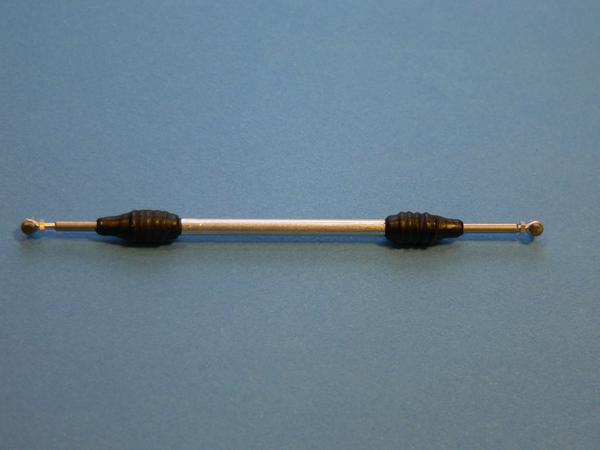
I also wanted to make the front wheels pose-able. So I decided to fab a Rack& Pinion steering system out of Aluminum and Stainless tubing. Rod ends are from RB Motion. I used the 34 ford system as a guide and over all lengths...here are a few shots of that progress....
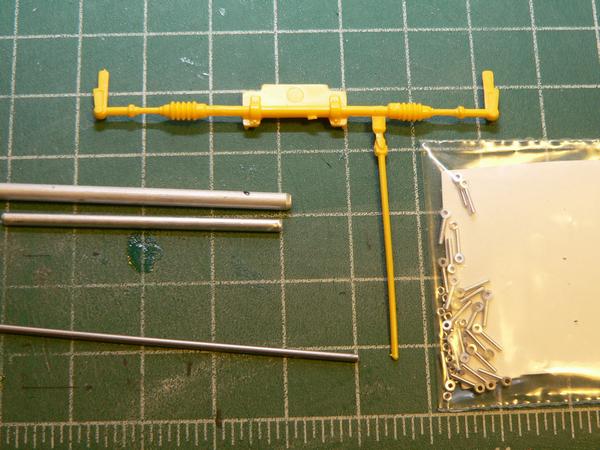
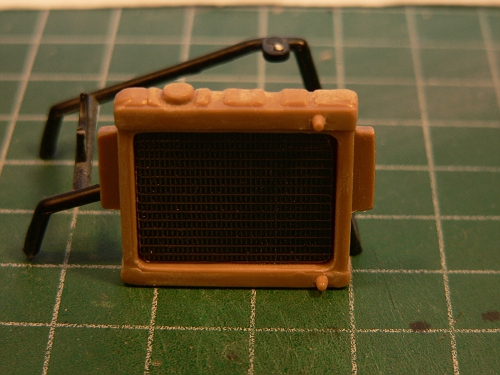
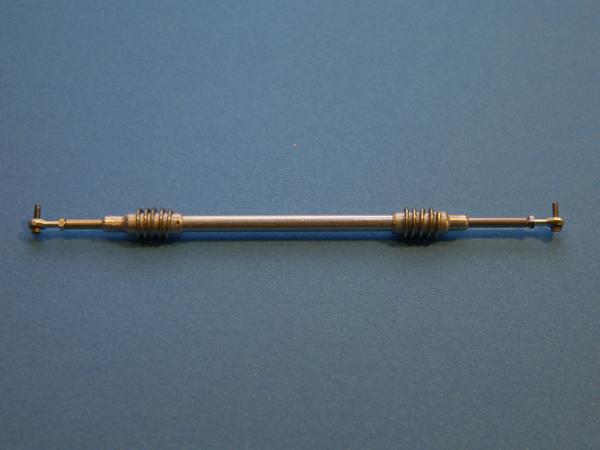
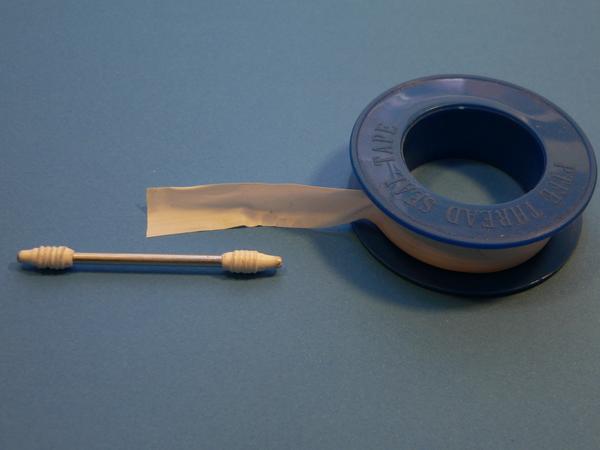
I used .020 wire to make the ribs and also used Teflon Tape to make it look like the rubber covers them. I then painted them flat black..
|
|
|
|
Post by dogfish7 on Jan 14, 2016 6:54:19 GMT -8
Nice touch with the Teflon tape.
|
|
|
|
Post by garydavis on Jan 22, 2016 11:00:03 GMT -8
Thanks Bruce...maybe you can use the idea someday..hey?
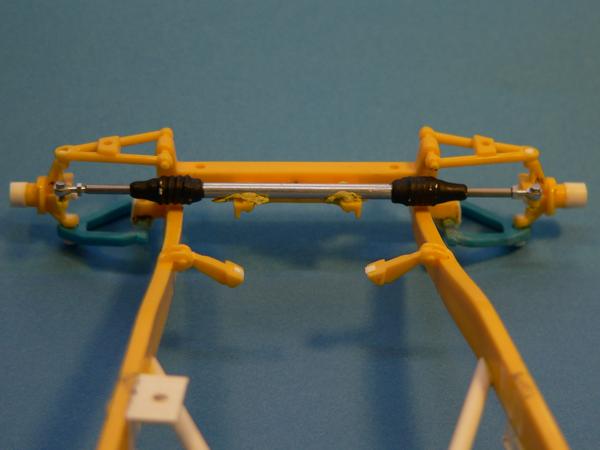
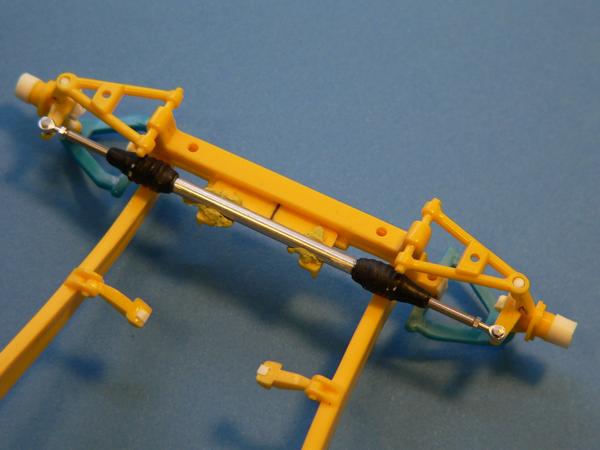
I managed to get the bracket for the rack onto the chassis. The system is mocked up in these pics.The bolts are threaded and will have the nuts on them at final assemble....
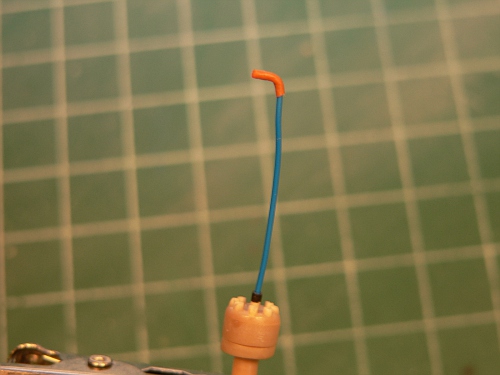
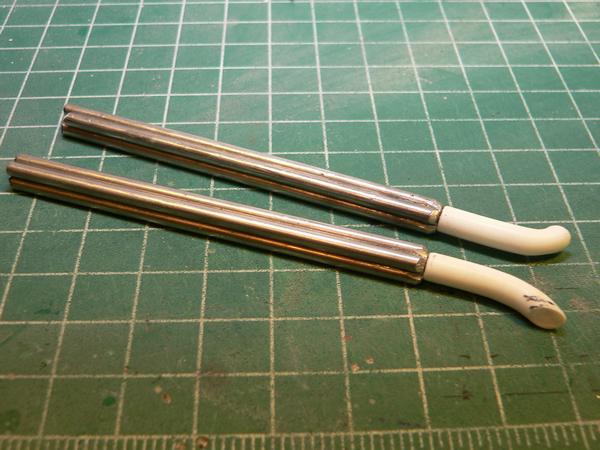
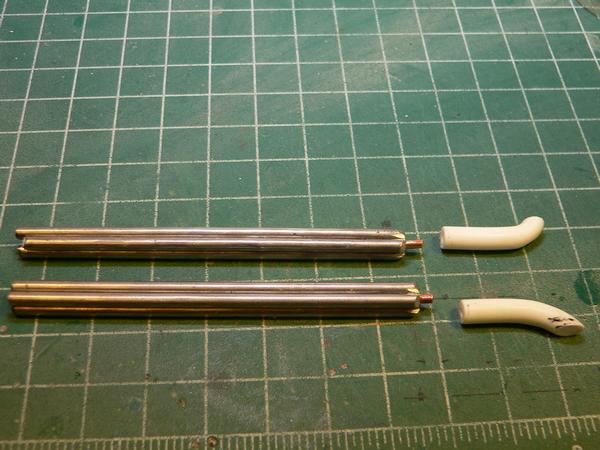
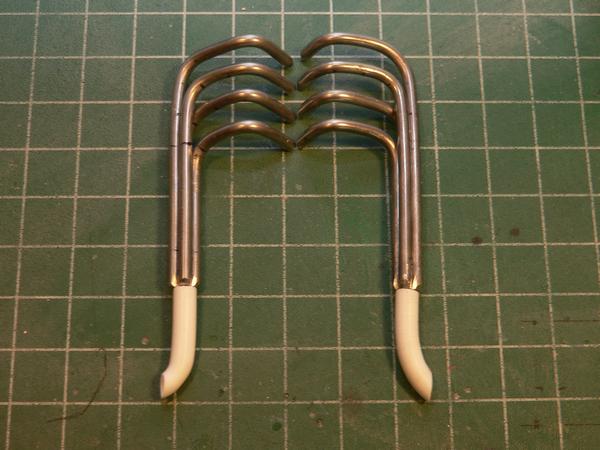
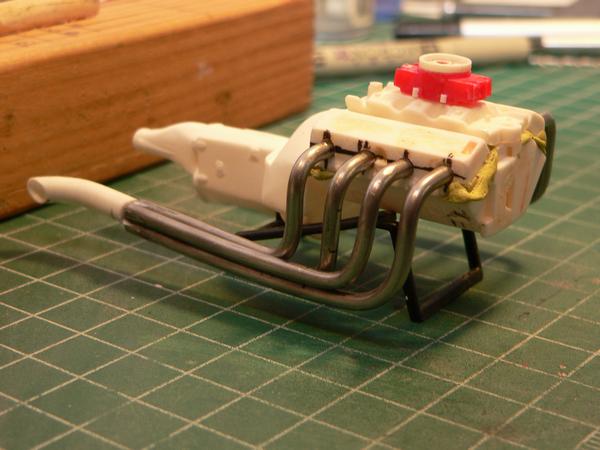
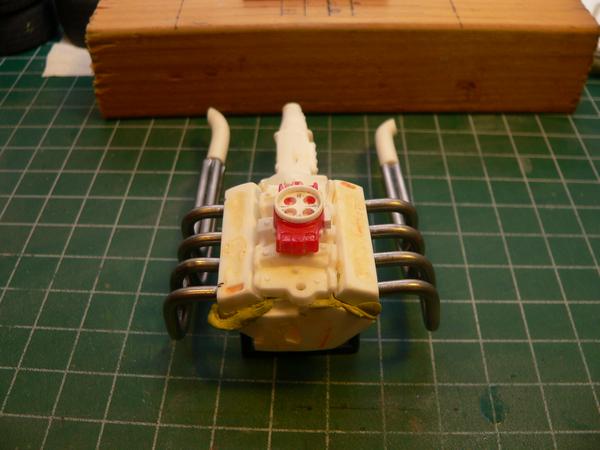
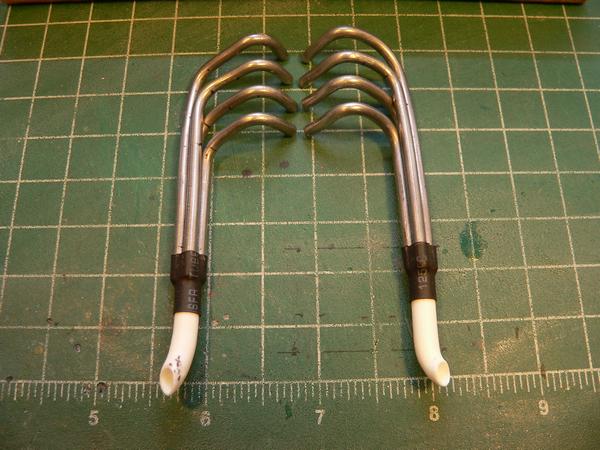
The original idea for headers was the use of solder, but.....I found a set in a parts Petty kit I thought I might try first....After extending each tube and mocking it up...I really didn't like how they looked....Soooo...I went back to the original idea of using solder. This is solid solder so I don't have to seal the ends off to keep Rosin from leaking out yrs down the road. The Curved out tube was a Plastic coat hanger turned down and then bent to shape (with heat applied) and then the ends drilled out. The collectors will be made with heat shrink tubing.
THE FIRST SET...
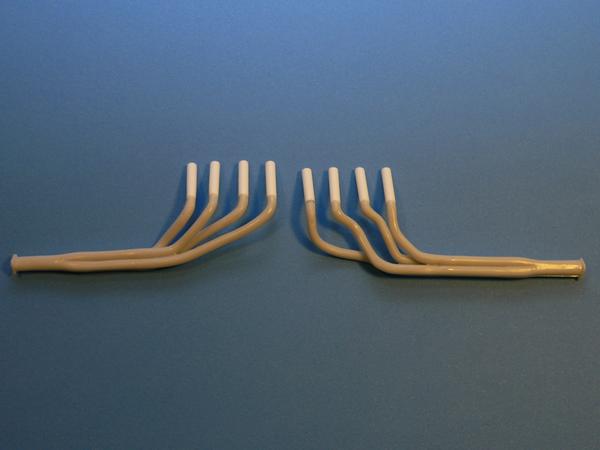
THE SOLDER SET.....
A jig will be made to bend the headers into the shapes that are needed to clear the body and be mounted parallel(as much as possible...) to the deck.....
|
|
|
|
Post by garydavis on Jan 23, 2016 11:18:07 GMT -8
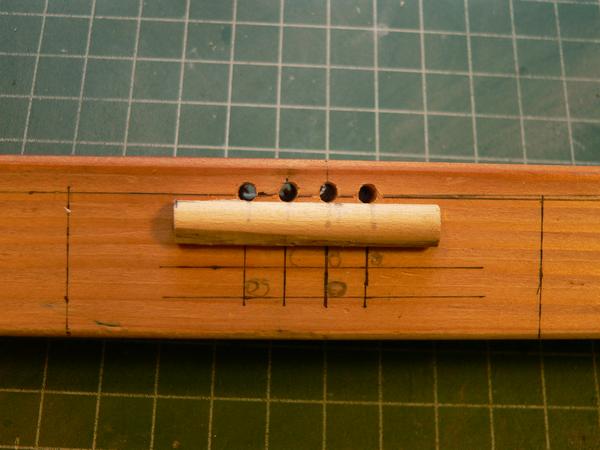
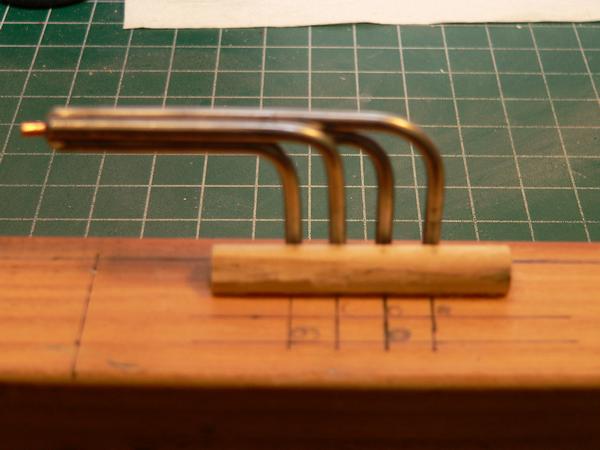
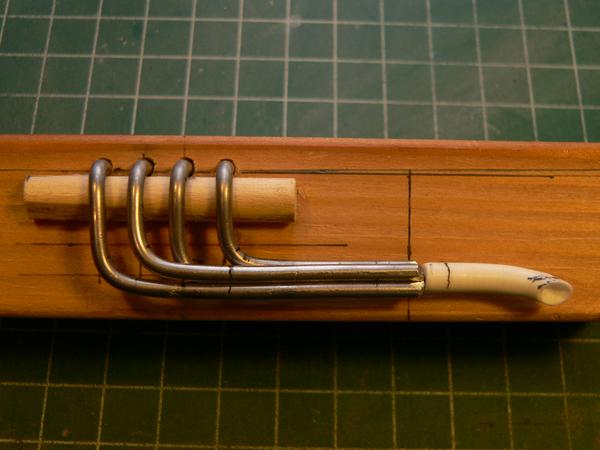
A little update here... I made the bending jig for the headers out of a 2x2x6 and a 5/16 dowel. It worked real well for making that final bend. Here are a few pics of the progress...
The bending jig...
Headers after the first bend(a 1/4" rod was used for this)...
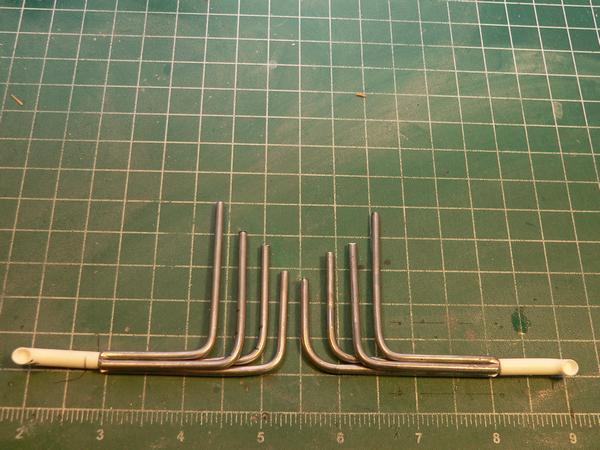
In the jig and after the second bend....
Mocked up on Engine....
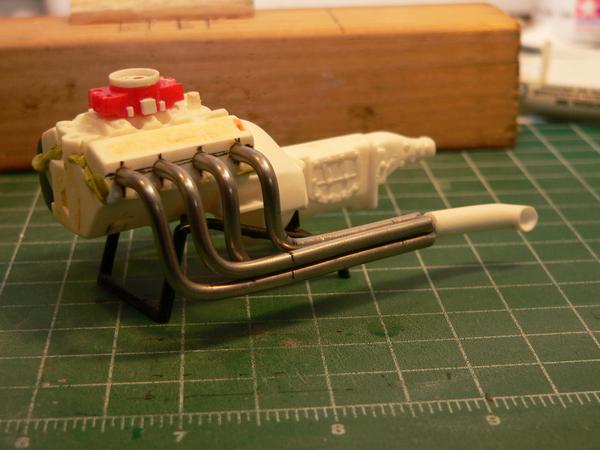
The good thing about using solder is that small adjustments can be made pretty easy. I still need to drill out the heads where each tube hits as that will give me more "bite" when they are glued.
|
|
|
|
Post by garydavis on Jan 23, 2016 17:23:18 GMT -8
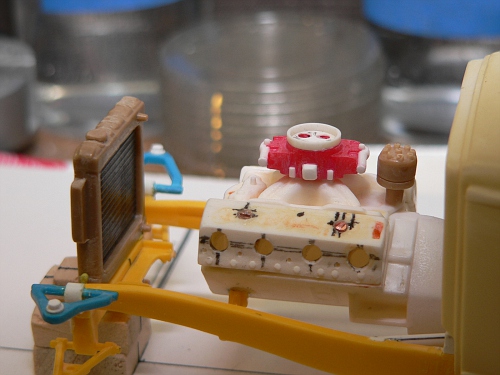
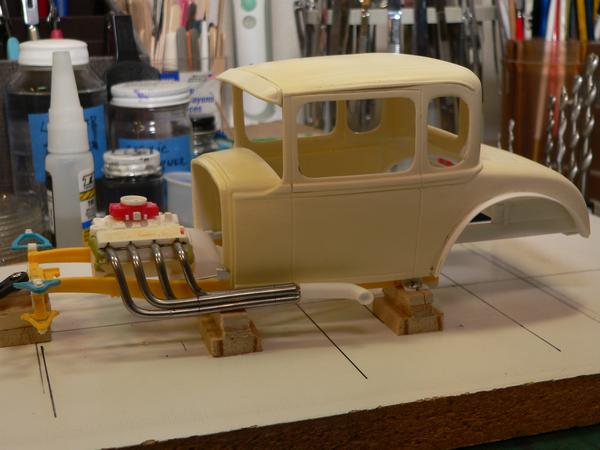
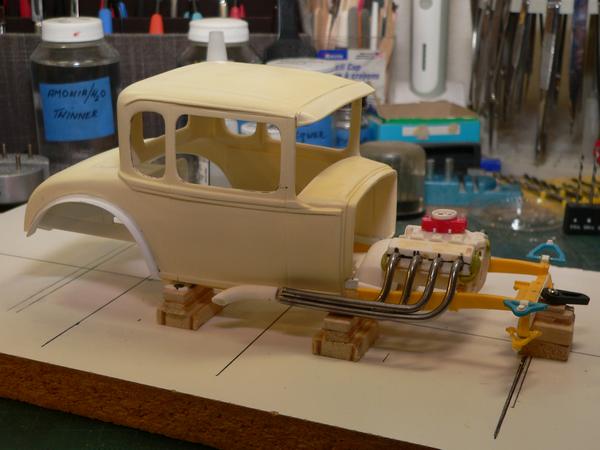
Here are a few more pics with the engine mocked up in the chassis....
|
|
|
|
Post by garydavis on Jan 30, 2016 13:49:37 GMT -8
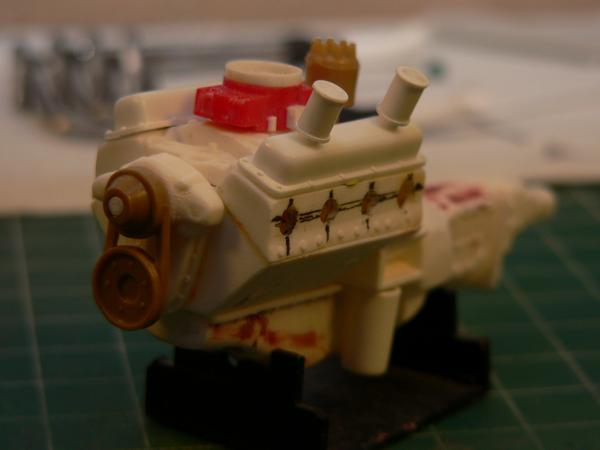
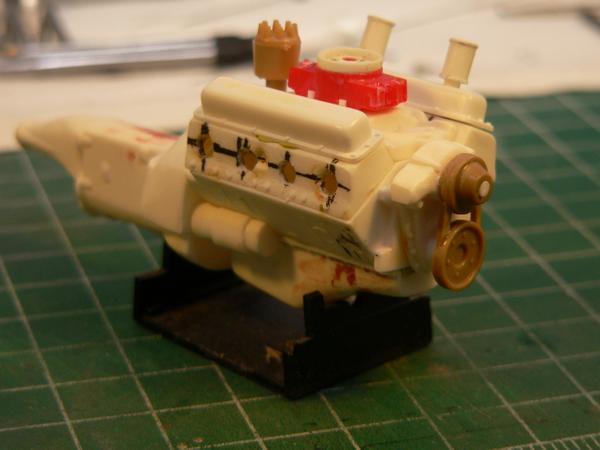
Here's an update on the engine....I did get the collectors on the headers. They are ready for paint at this point.....
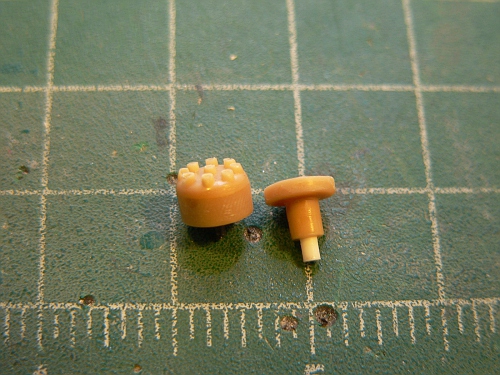
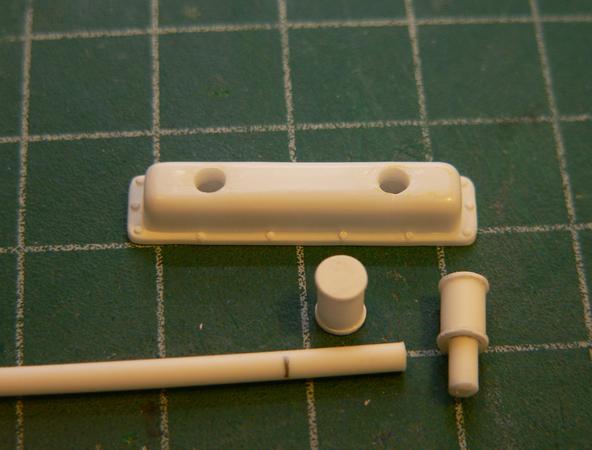
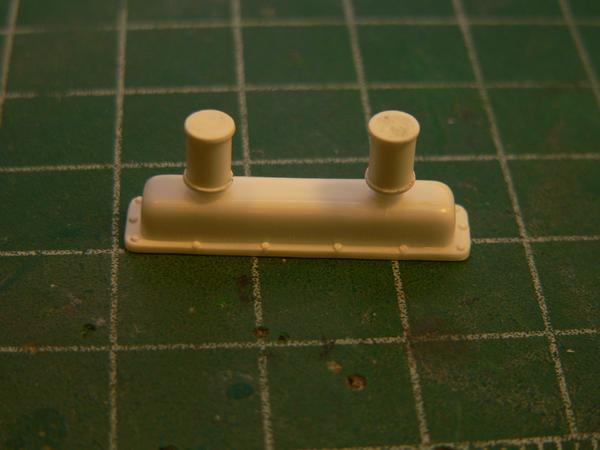
The valve cover breathers were fabbed from Plastic rod and the bottoms and tops are punched sheet plastic...
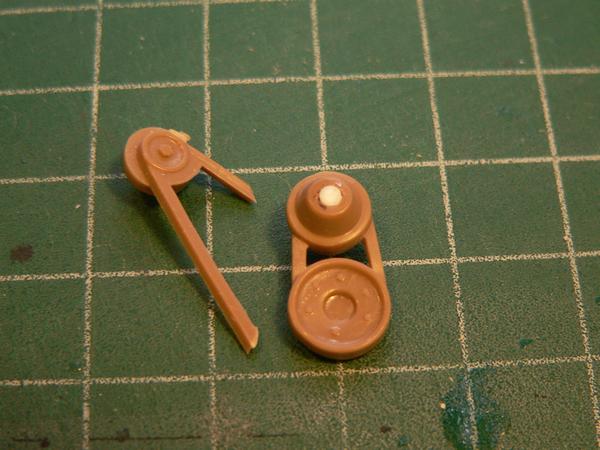
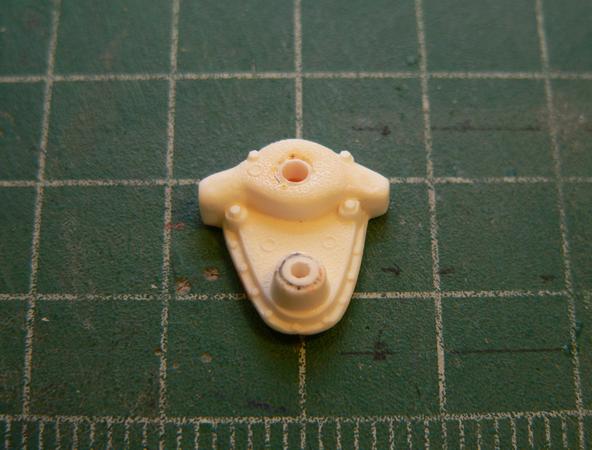
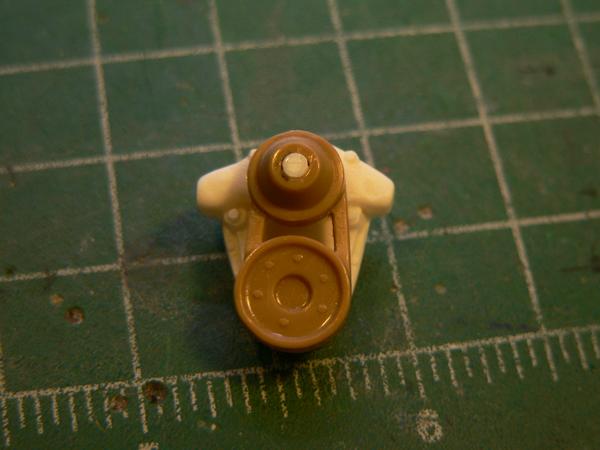
The front pulley assy. and Dist. from a 65 stang is being used for this engine. The Alt/Gen was cut off and a small belt fabbed. This car will not run with a fan. The water pump was cleaned up...bushing added(plastic rod) and drilled out for the pulley Assembly.
This engine is ready for primer. Then the paint will be shot.
As always...thanks to ALL who stop in to have a look and comment on the progress....more to come...
|
|
|
|
Post by dogfish7 on Feb 7, 2016 6:49:30 GMT -8
The engine work is looking fantastic Gary! Looks like you're close to getting some color on.
|
|
|
|
Post by garydavis on Feb 7, 2016 11:43:56 GMT -8
Thanks Bruce...yea...it's getting close to primer on the engine. I wanted to get primer on the chassis but...there's to much to do as of yet...and so it goes...
|
|
|
|
Post by dogfish7 on Feb 11, 2016 9:55:54 GMT -8
Hope you share this build elsewhere also. It really deserves more attention to other modelers.
|
|
|
|
Post by garydavis on Feb 13, 2016 11:15:58 GMT -8
|
|
|
|
Post by dogfish7 on Feb 15, 2016 10:38:49 GMT -8
Yes I was hinting BIG:) Great progress Gary! Nice touch on the radiator. Didn't you do a Tutorial awhile back on Decanting Paint. I'm wanting to try that, to get a better paint job using my air brush.
|
|