|
|
Post by gpugh1976 on Feb 10, 2015 8:31:31 GMT -8
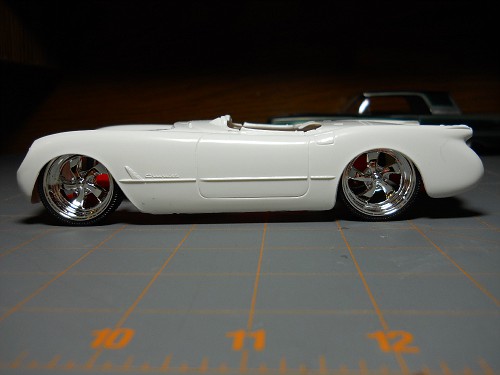
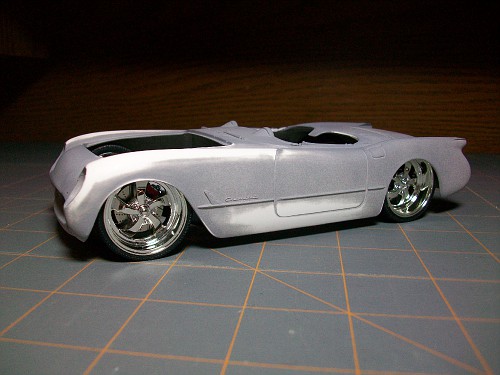
Now that my Thunderbird is done, I can get back to my Corvette.
This is a build I already had in progress when I joined so I'll get ya caught up...
This one got started as my entry into a CBP. Well, the CBP moved on and I stayed stalled out not far from the starting line.
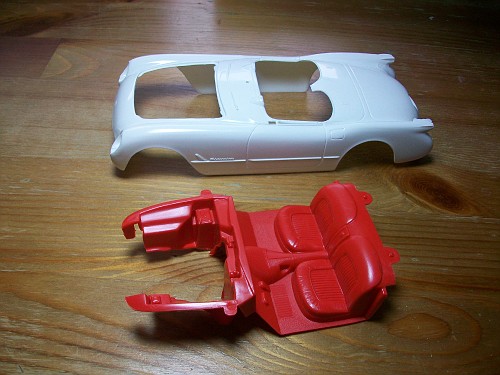
I did some trimming and shaving here....
After some primer...
|
|
|
|
Post by gpugh1976 on Feb 10, 2015 8:34:34 GMT -8
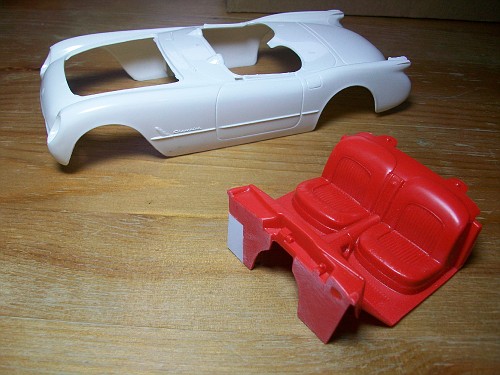
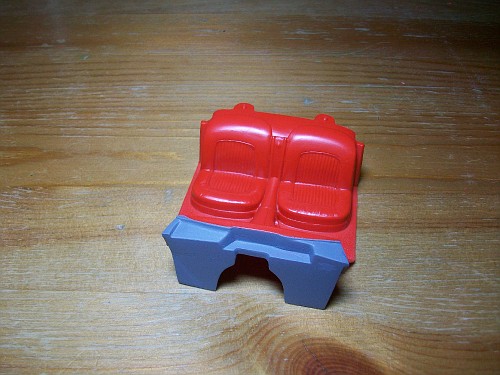
Now, we move onto the rear wheel wells and frame area...
I also had to thin out or section (in a way) the spare tire well to help maintain some clearance with the upcoming frame mods.
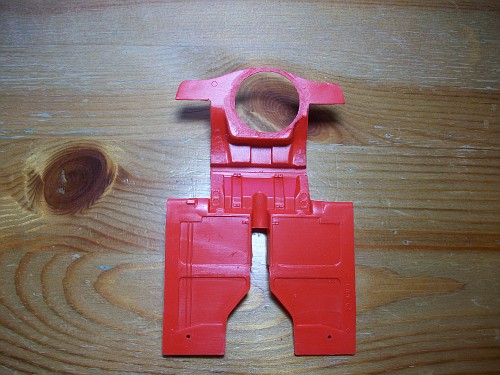
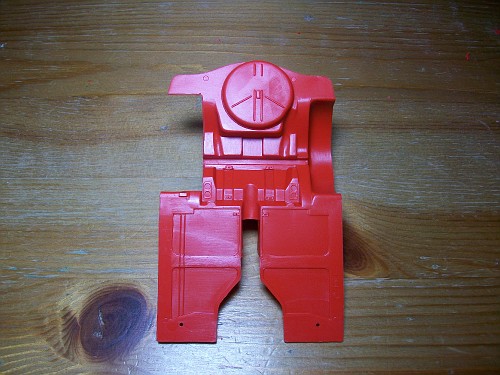
The stock frame... 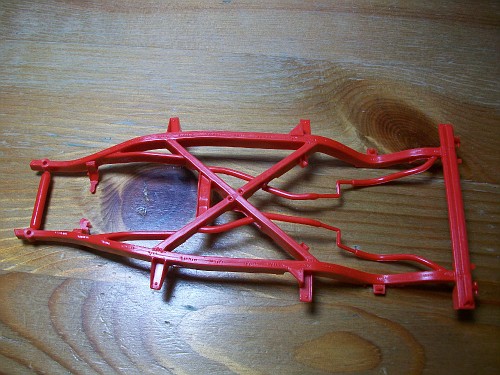
|
|
|
|
Post by gpugh1976 on Feb 10, 2015 8:38:25 GMT -8
Here, you can see where all of the exhaust system was removed and you can also see where my marks are for cutting the rear of the frame 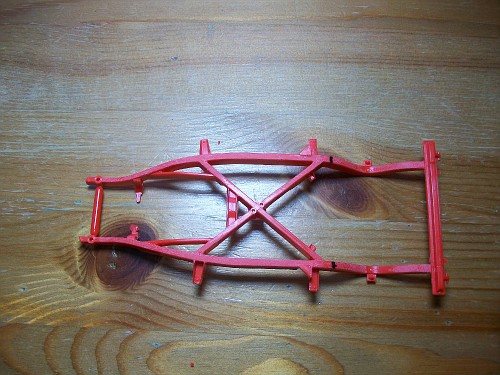
Point of no return now... 
All back together... 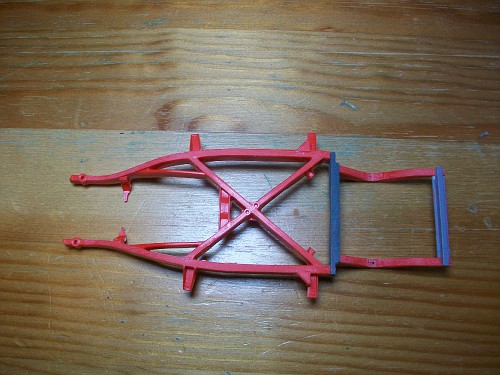
Yay! They fit now!! 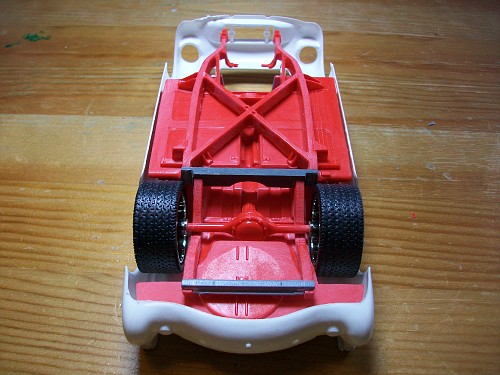
|
|
|
|
Post by gpugh1976 on Feb 10, 2015 8:43:59 GMT -8
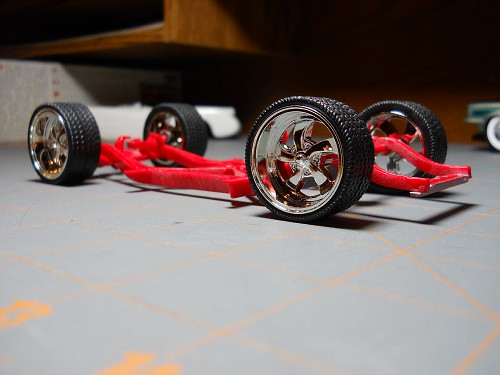
Time to move onto the front... 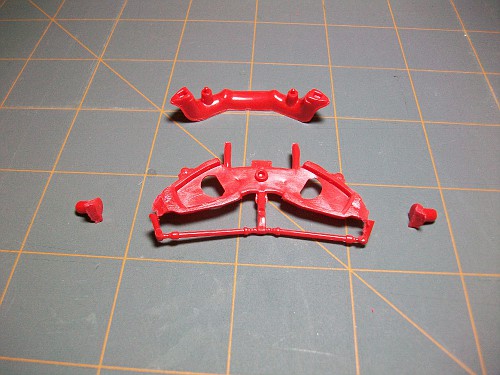
And with lowering the car with the dropped spindles and also the large wheels/tires that I'm using, I had to shorten the length of the lower control arms. It might be kinda hard to see in these next two pics but the first one shows the left side control arm that's had a section taken out of it and the second pic shows where they've both been shortened. 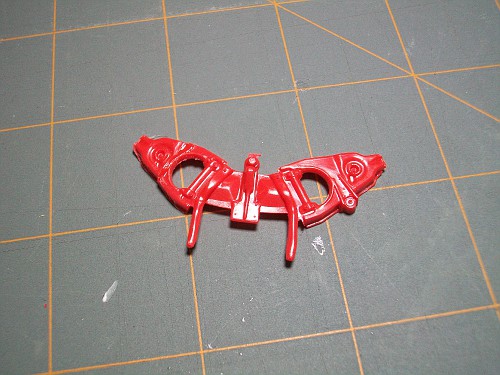

I scratch-built some spindles using a piece of the kit's parts tree. 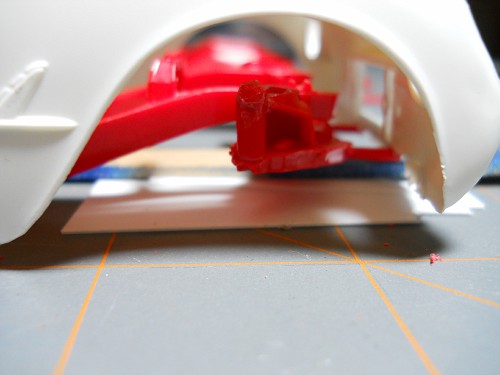
|
|
|
|
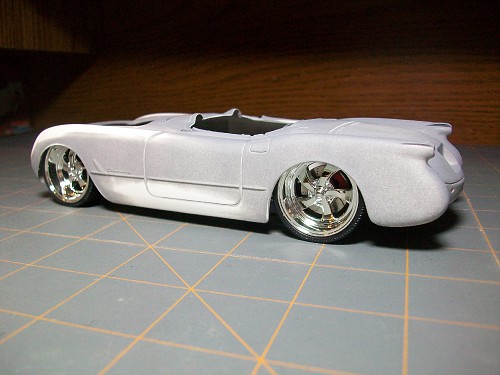
Post by gpugh1976 on Feb 10, 2015 8:46:39 GMT -8
And here it is on all fours... 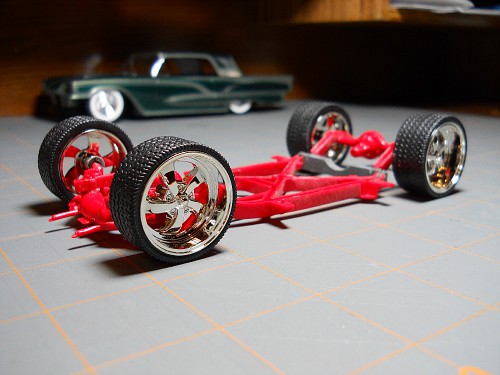
|
|
|
|
Post by gpugh1976 on Feb 10, 2015 8:52:05 GMT -8
|
|
|
|
Post by gpugh1976 on Feb 10, 2015 8:56:01 GMT -8
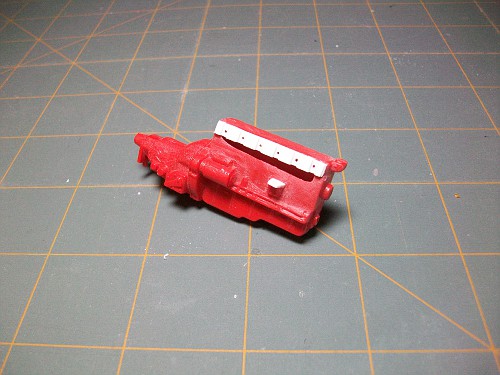
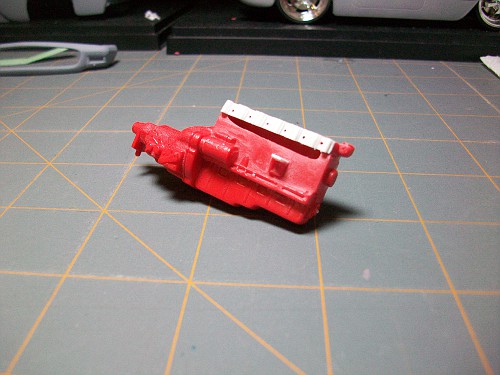
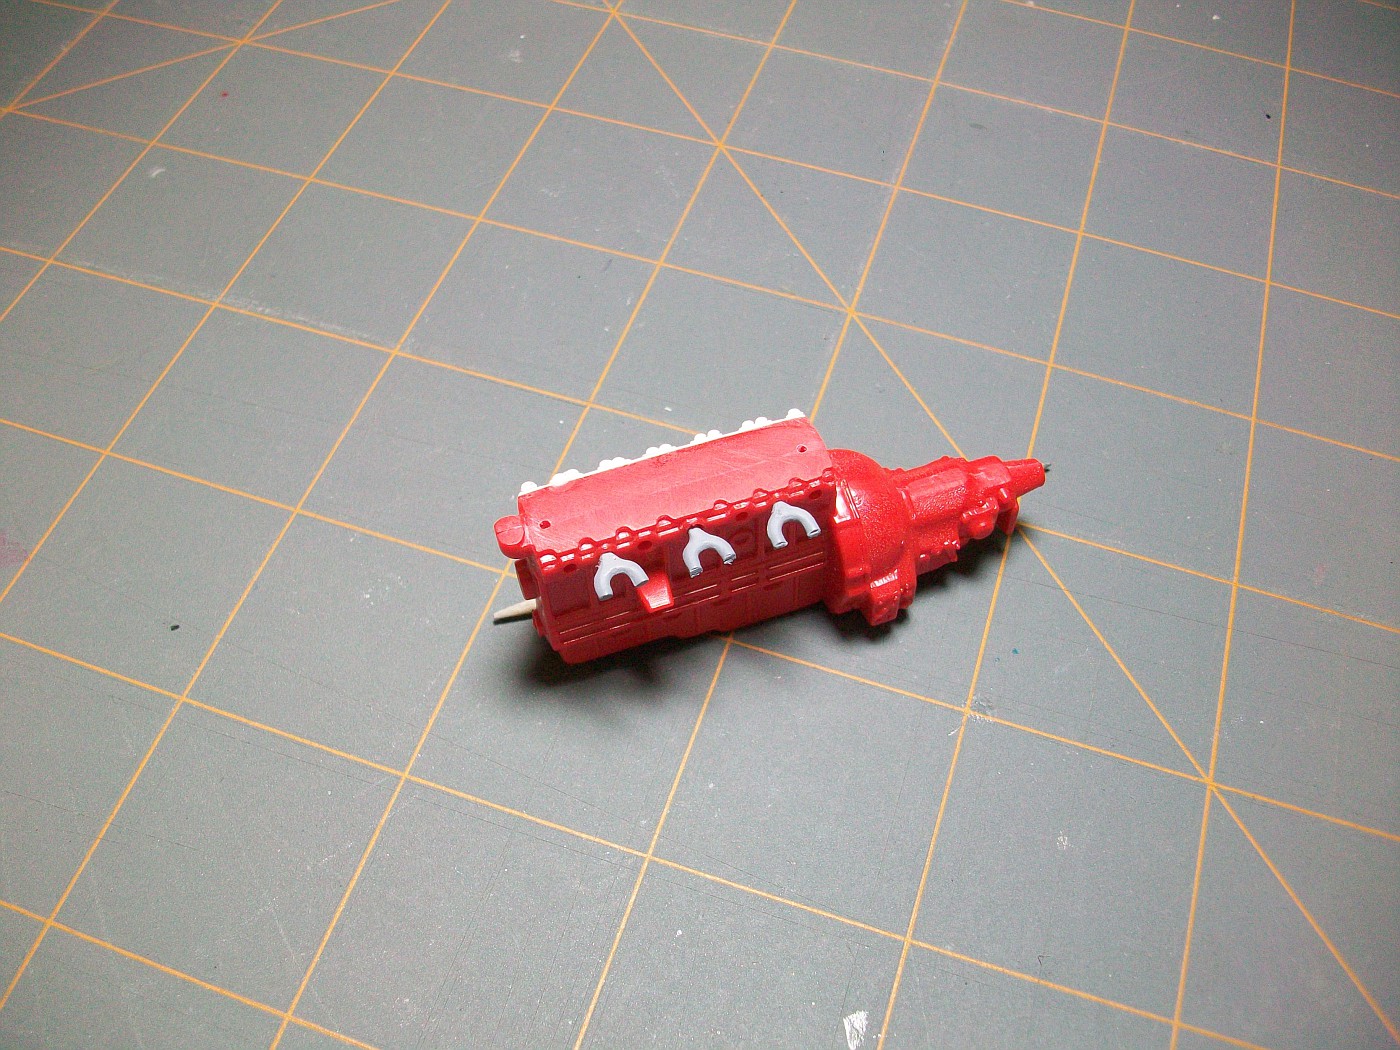
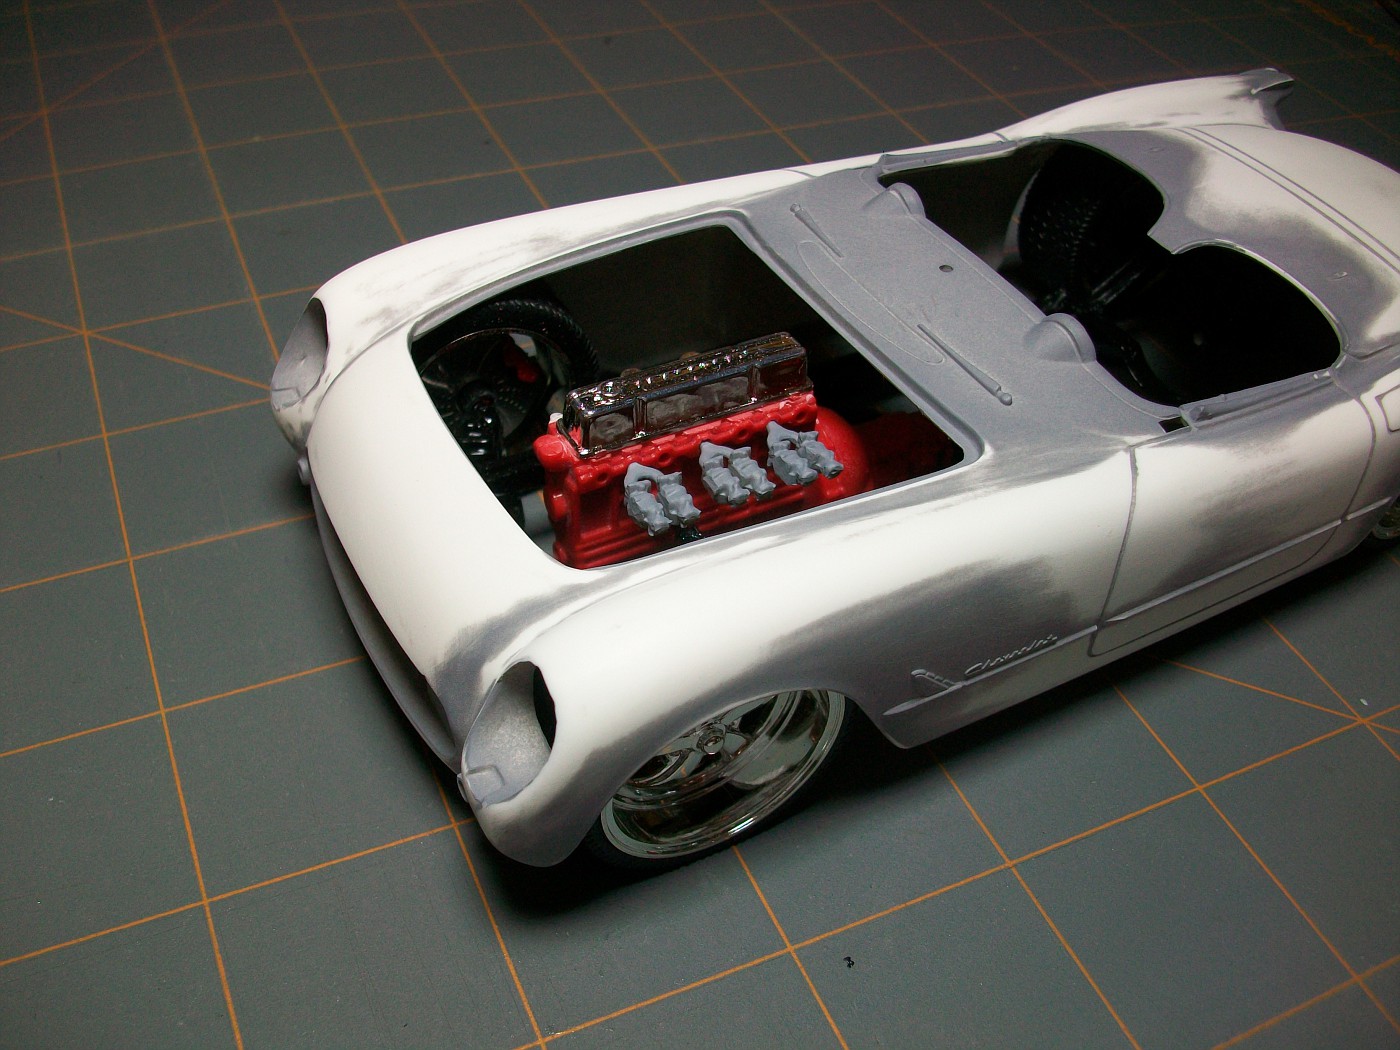
Now, time for the engine. I decided to stick with the 6 cylinder but it will be far from stock.
What I started with... 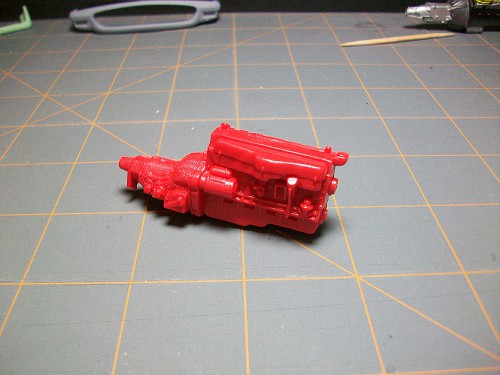
After some trimming... 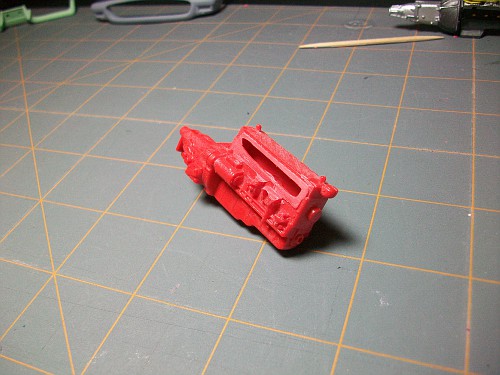
And a little more trimming... 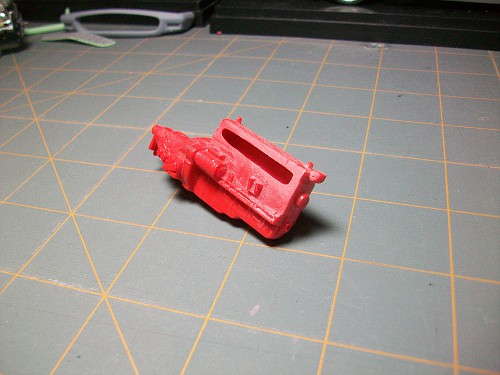
|
|
|
|
Post by gpugh1976 on Feb 10, 2015 9:00:51 GMT -8
Now I had to deal with the huge hole in the side of my block and I needed to produce some cylinder head detail. I also had to build up the motor mount a little bit as I lost some of it when I was trimming. You can see where I made my marks for spark plugs. 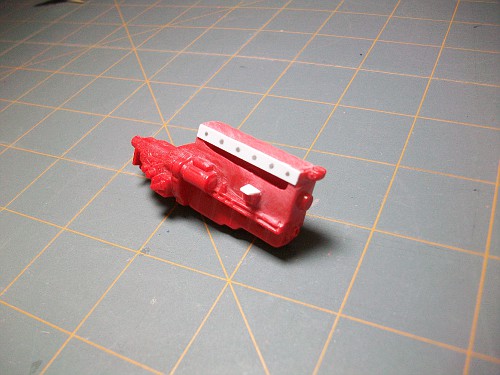
Here I added some sheet styrene cut into short strips... 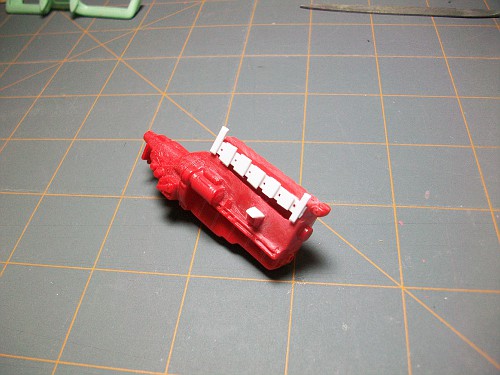
Then I added some half-round... 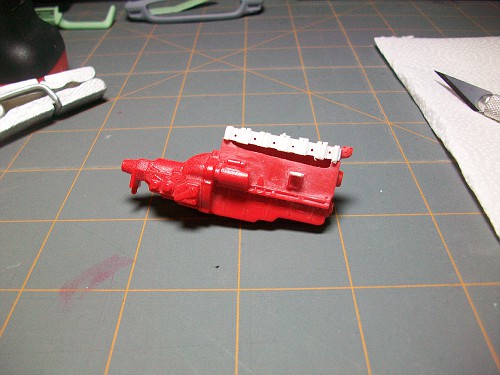
Then I was able to cover the rest of the hole with the side cover I scratched out of styrene sheet. It will be permanently attached after the painting is all done. 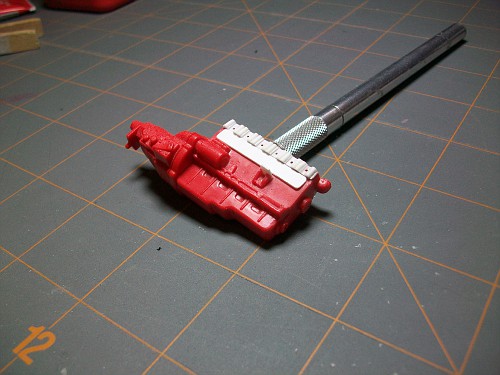
|
|
|
|
Post by gpugh1976 on Feb 10, 2015 9:07:17 GMT -8
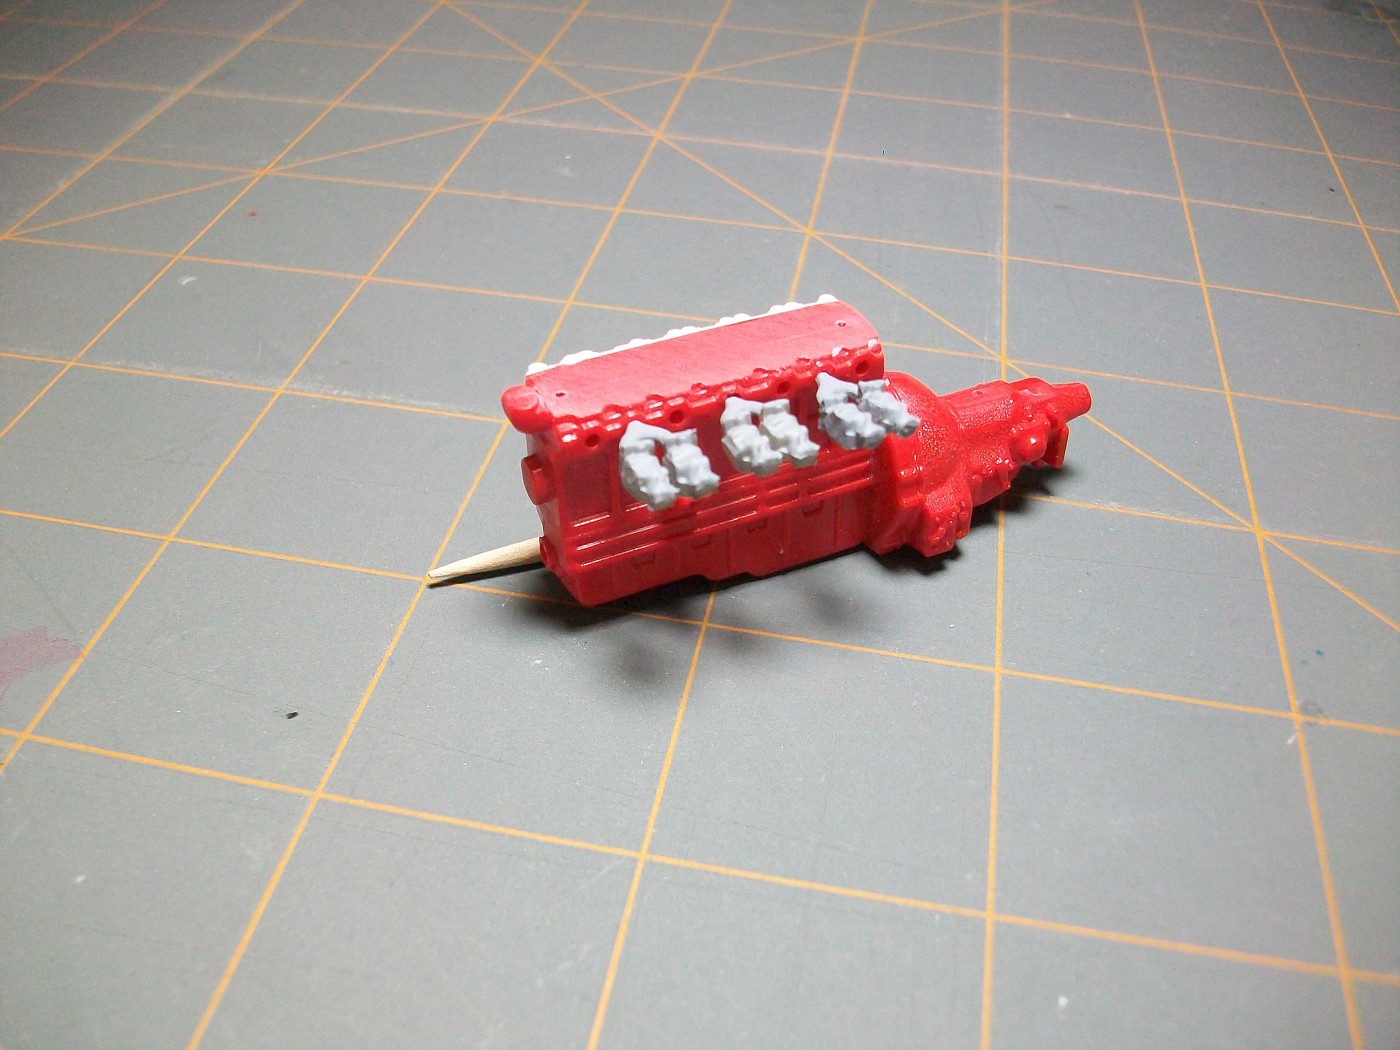
I pretty much had a vision in my mind of what I wanted my injection set up to look like. So, armed with that vision in mind, I rummaged through parts box after parts box until I found that particular shape I had envisioned and pieces I could put to use. This is what I ended up with...........two bumpers and six carburetors!  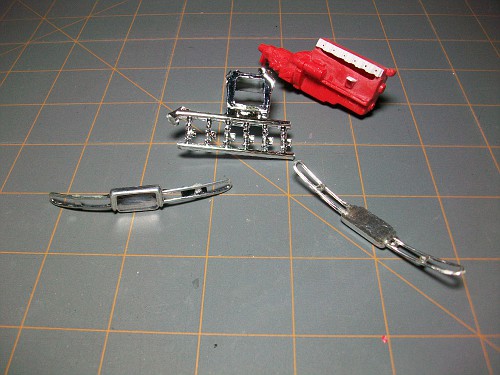
First thing I did was remove the float bowls from the carburetors to give them more of a throttle body look 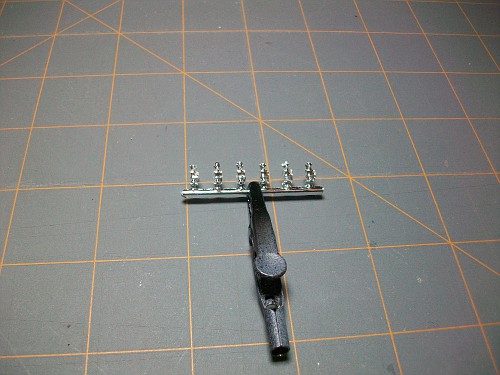
Then, I hacked the ends off of the bumpers I rounded up 
After a quick bath in the chrome-stripping pond... 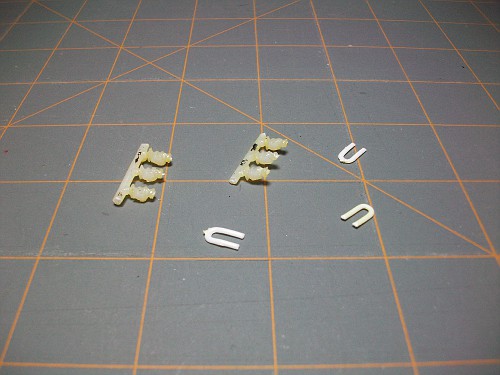
|
|
|
|
Post by gpugh1976 on Feb 10, 2015 9:10:55 GMT -8
And now to make some intake manifolds... 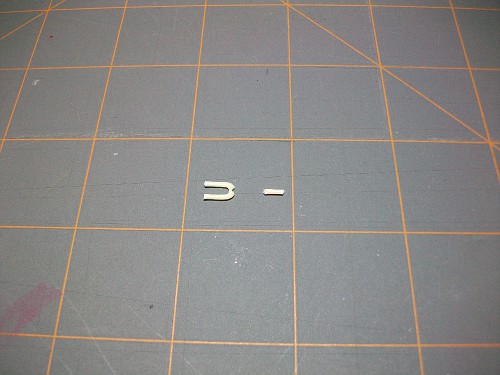

After a little bit of trimming... 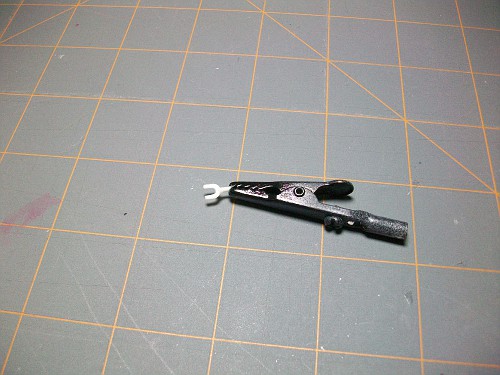
|
|
|
|
Post by gpugh1976 on Feb 10, 2015 9:18:29 GMT -8
I was always unsure and hesitant on how I was gonna pull off the exhaust system I had planned. After staring at it for an afternoon, it suddenly hit me and away we went. 
After getting the exhaust idea worked out, I was able to drill for it and get the engine primered 
Nothing says "all business" to me like Flat Black and since this wicked little 6 is "all business", Flat Black it is! 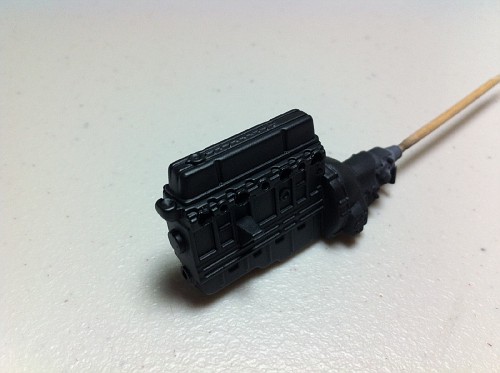
And with the "Chevrolet" script picked out... 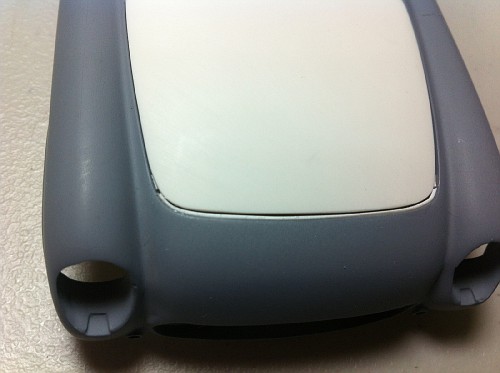
|
|
|
|
Post by garydavis on Feb 10, 2015 9:22:50 GMT -8
Great fab work Greg. I like the low look of this Vette. I'm not a big fan of those 'uge wheels and thin lizzy tires but...you made them look good on this build. Those side drafts are awesome...KEEP AH POST'IN. Looking forward to the next update...
|
|
|
|
Post by gpugh1976 on Feb 10, 2015 9:25:05 GMT -8
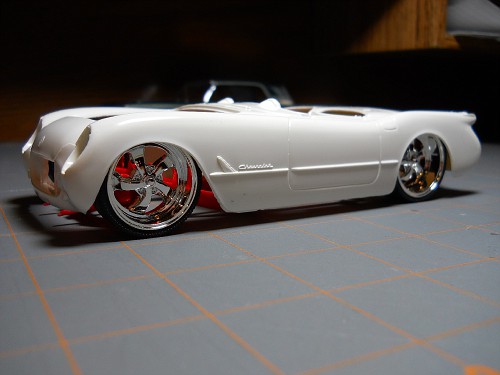
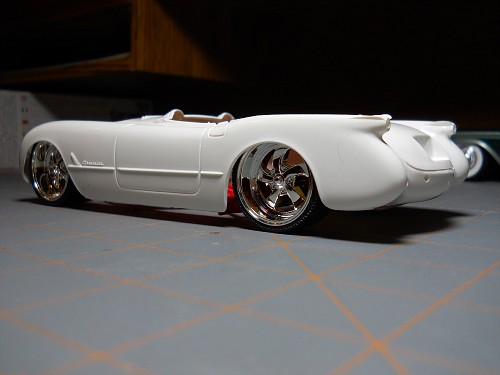
I decided the car would look better if it was smoothed out a bit. I still plan on using the stainless trim and the "Corvette" logo on the side of the car but I decided on shaving everything else, bumpers included. Here you can see where I was working on the rear exhaust outlets and the trunk lock cylinder. The four holes you see there will be filled also. 
I figured a big ol' chrome toothy grill would look kinda funny with the bumpers gone so I came up with this. 
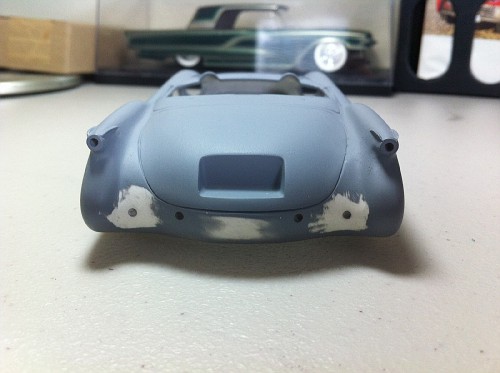
After going with the different grille setup, I needed to clean up the area behind it a bit.
Here's a "before" 
The two upright bars were how the original grille mounted in the opening. Didn't need that anymore.  The holes towards the outside are used to mount the radiator so I kept those but I wanted to open it up a bit. The holes towards the outside are used to mount the radiator so I kept those but I wanted to open it up a bit.
This is what I ended up with 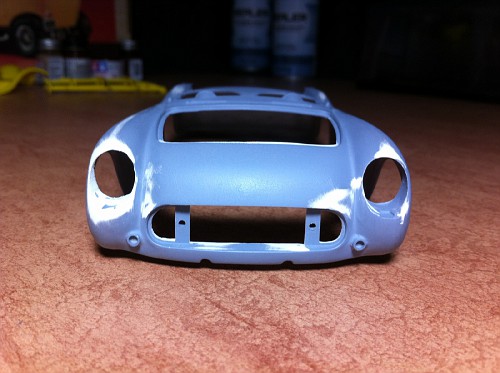
And with the grille in 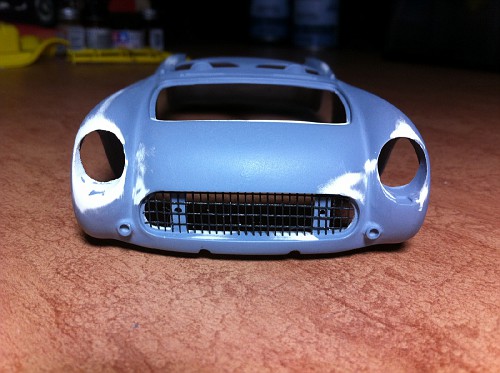
|
|
|
|
Post by gpugh1976 on Feb 10, 2015 9:25:38 GMT -8
Thank you Gary!
|
|
|
|
Post by gpugh1976 on Feb 10, 2015 9:29:01 GMT -8
I did some work to the ATROCIOUS fit of the hood. I had to add some .020" sheet styrene to raise the hood to level with the fenders but I've still got another .010" to go! In addition to that, I had to add a .020" strip to the front of the hood opening to get that closer. We're still not quite done but it's looking much better. 

I decided to start taking some steps towards figuring out what to do with the headlights. I figured I'd get the headlight buckets to fit into their holes first. That alone almost took me an hour! What a mess these were!! 
|
|


 The holes towards the outside are used to mount the radiator so I kept those but I wanted to open it up a bit.